
Table of Contents
Introduction
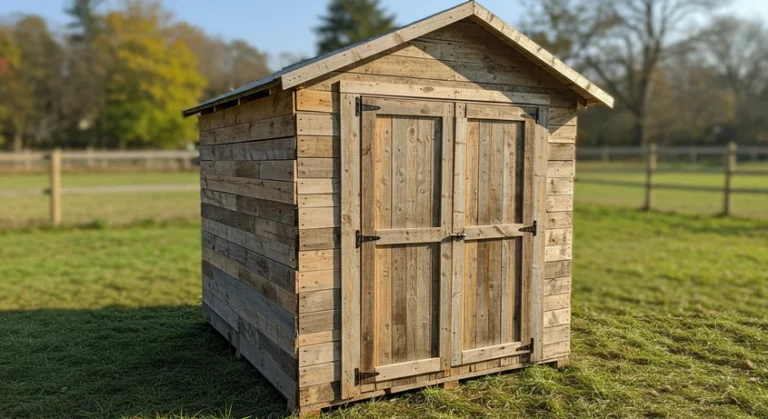
Building a shed with concrete blocks is a great DIY project that adds both function and value to your outdoor space. Concrete block sheds are tough, weather-resistant, and long-lasting, making them perfect for storage or even a small workspace. In this guide, we’ll walk you through each stage of the process — from laying the foundation to finishing the roof. Whether you’re a first-time builder or someone with experience, this step-by-step approach will help you complete your project with confidence.

Planning Your Concrete Block Shed

Before you start building, it’s important to have a solid plan. Here’s what to consider:
- Choose the Right Location: Pick a spot that’s level, accessible, and clear of any underground utilities.
- Check Local Regulations: Contact your local permitting office to understand any zoning rules or building permit requirements.
- Design Your Shed:
- Decide on dimensions (e.g., 8×10 feet is common).
- Include door and window placements.
- Consider roof style: flat, gable, or sloped.
Tools You’ll Need:
- Shovel and wheelbarrow
- String line and stakes
- Tape measure and level
- Masonry trowel and hammer
- Circular saw (if cutting wood for roofing or doors)
Gathering Materials
To keep your build smooth, gather everything before starting:

- Concrete Blocks: Estimate based on wall height and length.
- Mortar Mix: Choose one suited for masonry.
- Concrete: For the foundation.
- Steel Rebar: For reinforcement.
- Gravel and Sand: For mixing concrete and filling.
- Plywood and Beams: For the roof frame.
Tip: Buy about 10% extra of each material to account for breakage or miscalculations.
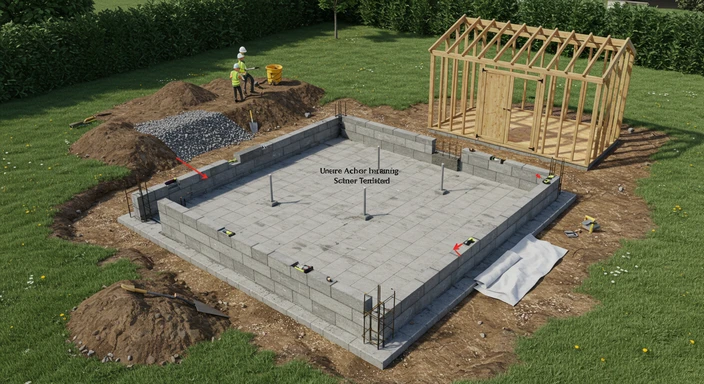
Preparing the Foundation

A strong shed needs a solid base. Follow these steps:
- Mark the Area: Use stakes and string to outline your shed’s footprint.
- Excavate the Ground: Dig about 8–12 inches deep to prepare for the slab or footing.
- Add Gravel: Pour a 4-inch layer of gravel for drainage, then tamp it down.
Pouring the Concrete Slab:
- Mix and pour concrete evenly over the gravel base.
- Use a screed board to level it.
- Let it cure for at least 24–48 hours before continuing.
Laying the First Course of Concrete Blocks
- Dry-Fit the Blocks: Lay them out without mortar first to check fit and alignment.
- Mix Mortar: Follow package instructions; aim for a peanut butter-like consistency.
- Lay Blocks:
- Start at the corners and use a level.
- Spread mortar on the slab and between blocks.
- Use a string line to keep rows straight. Repeat until the first layer is complete, checking level and alignment frequently.
Building the Shed Walls

Once the first course is in place and level, it’s time to build the walls up:
- Add More Rows:
- Apply mortar to the top of each block.
- Stagger joints (overlap blocks) for strength.
- Use a level every few blocks.
- Reinforce the Walls:
- Insert vertical rebar into hollow cores every few feet.
- Fill select block cores with mortar or concrete around the rebar for stability.
Install Openings:
- Leave space for windows and doors.
- Use lintels or steel headers to support blocks above these openings.
Framing and Installing the Roof

A solid roof protects your shed and keeps the structure sound:
- Install Wall Plates:
- Anchor treated lumber to the top row of blocks using masonry anchors or embedded bolts.
- Ensure they’re level and secure.
- Build the Roof Frame:
- Choose a flat, gable, or sloped design.
- Use 2x4s or 2x6s for rafters.
- Space them evenly and attach with metal brackets.
- Add Roofing Material:
- Cover the frame with plywood sheathing.
- Apply roofing felt, then shingles or metal sheets.
Installing Doors, Sealing, and Final Touches

- Hang the Door:
- Install a pre-hung door or build one from plywood and framing.
- Use heavy-duty hinges and secure with masonry screws.
- Seal the Shed:
- Fill all visible gaps with masonry caulk.
- Paint or apply a waterproof coating to the exterior walls.
- Ventilation & Storage Options:
- Add vents near the roof to promote airflow.
- Install shelves or hooks inside for better organization.
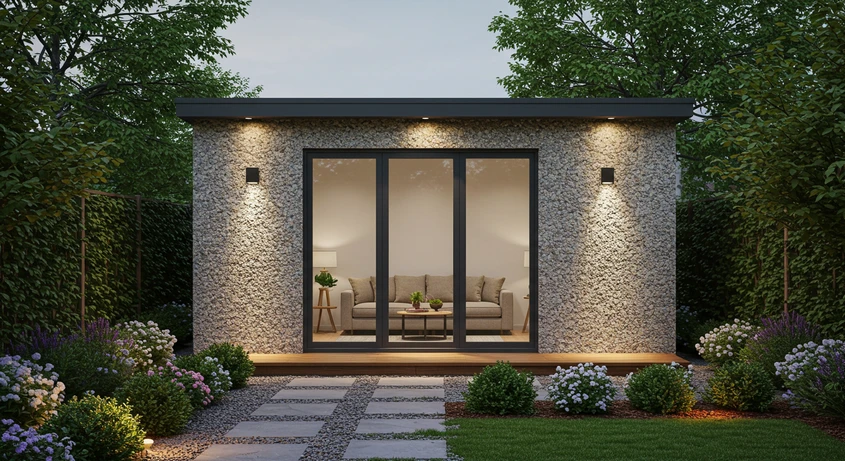
Conclusion: Enjoy Your New Concrete Block Shed
Building a concrete block shed is a rewarding project that gives you durable, long-term storage or workspace. With the right tools, a bit of planning, and some patience, you can create a sturdy structure that stands the test of time. Whether you use it to store tools, garden gear, or as a small workshop, your new shed adds both function and value to your backyard. Just remember to check on it periodically, apply sealant as needed, and keep it clean to ensure it stays in great shape.