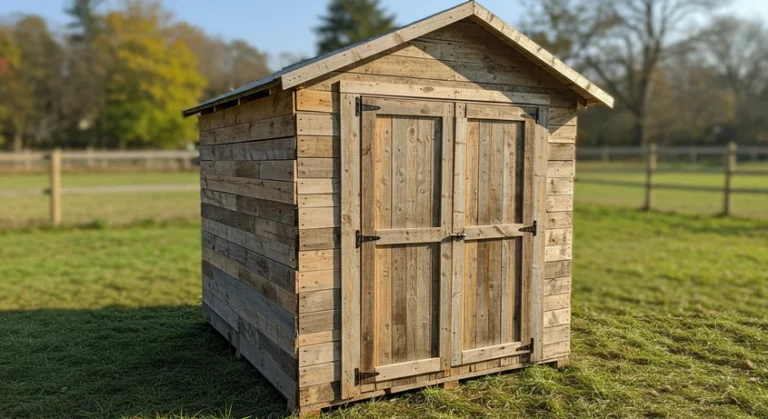
Building a shed is a rewarding DIY project that helps you organize your tools, store lawn equipment, or even create a personal workspace. But before you get started, it’s smart to plan ahead. A few strategic decisions early on can save you time, money, and frustration later. Whether you’re building your first shed or looking to improve on past efforts, these tips will guide you through the process with confidence. From choosing the right materials to leveling the ground, each point is designed to make your shed sturdy, functional, and long-lasting.
1. Start With a Solid Plan
- Before you buy materials or pick up a hammer, take time to design your shed.
- Sketch a layout and decide on size, location, and features.
- Consider local zoning rules and whether a building permit is required.
- A clear plan ensures efficient building and fewer mistakes.
2. Pick the Right Location
- Choose a flat, well-drained spot with good sunlight and airflow.
- Avoid low-lying areas where water may collect after rain.
- Make sure the shed is easily accessible but not blocking other areas of your yard.
- Check with your city or HOA for any setback requirements.
3. Use Pressure-Treated Lumber for the Base
- The shed’s foundation is constantly exposed to moisture from the ground.
- Pressure-treated lumber resists rot and insect damage, adding longevity.
- Even if you build on concrete piers or blocks, using treated wood for the base frame adds extra protection.
- It’s a small upfront cost that prevents major repairs down the line.
4. Level the Foundation Carefully
- A level base is crucial for structural integrity and smooth door operation.
- Use a long level or laser level to ensure every corner is aligned.
- Shims and gravel can help you make adjustments.
- Skipping this step can lead to warping, uneven walls, and roofing issues.
5. Choose Durable Roofing Materials
- Roofs take the brunt of sun, rain, and wind, so don’t cut corners here.
- Asphalt shingles are a popular, cost-effective option that match most homes.
- Metal roofing lasts longer and is excellent for areas with heavy snowfall.
- Whichever material you choose, install proper underlayment to prevent leaks.
6. Frame the Walls on the Ground
- Assembling wall sections on a flat surface is faster and safer.
- You get tighter joints and more accurate measurements.
- Once framed, you can lift and secure them into place with fewer errors.
- It’s especially helpful if you’re working alone or with limited help.
7. Add Extra Framing for Doors and Windows
- Shed doors and windows often need more support than standard wall sections.
- Use double studs or headers above openings to distribute weight properly.
- Reinforce door frames to prevent sagging and sticking over time.
- Planning for these extras during framing saves you from making changes later.
8. Use Screws Instead of Nails for Assembly
- Screws provide a stronger, longer-lasting hold than nails.
- They’re easier to remove if you make a mistake or need to adjust later.
- Especially for joints and high-stress areas, screws prevent the structure from loosening over time.
- A power drill speeds up the process and keeps everything secure.
9. Install Siding Before Raising the Walls
- Attaching siding while the walls are still flat on the ground saves effort and time.
- It ensures straighter lines and tighter joints.
- Once the walls are up, you just need to align and fasten them to the base.
- This approach also reduces the need for ladders and extra hands.
10. Include Roof Overhangs
- A small roof overhang helps divert rainwater away from walls and the base.
- It also protects siding and trim from weather damage.
- Overhangs can improve ventilation when paired with soffit vents.
- A few extra inches on the roof can extend your shed’s life by years.
11. Seal Gaps and Paint Right Away
- After construction, seal all seams, corners, and trim with exterior-grade caulk.
- Apply paint or stain promptly to protect the wood from moisture and UV damage.
- Choose weather-resistant coatings for longer-lasting results.
- Regular maintenance will keep your shed looking and performing well for years.
12. Add Gutters and Ventilation
- Gutters direct water away from the base, reducing the risk of rot.
- Roof vents or small windows promote airflow and prevent mold or mildew inside.
- Good ventilation also helps preserve tools, equipment, and other stored items.
- Consider ridge or gable vents for continuous airflow without taking up space.