
Table of Contents
Introduction
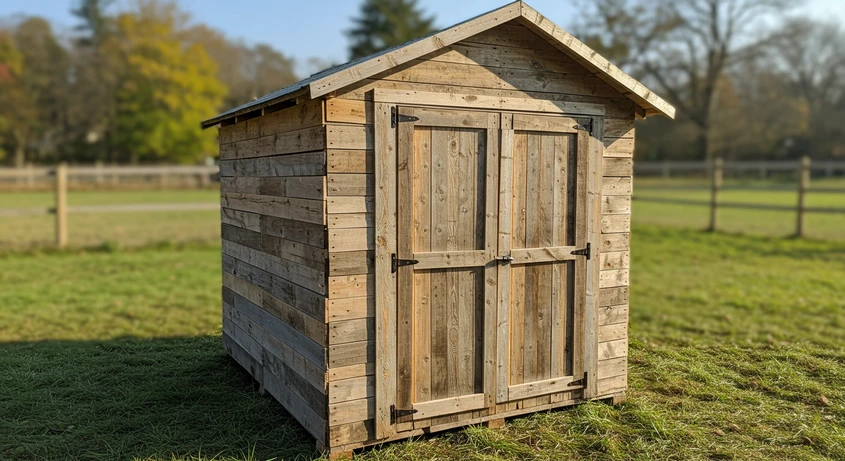
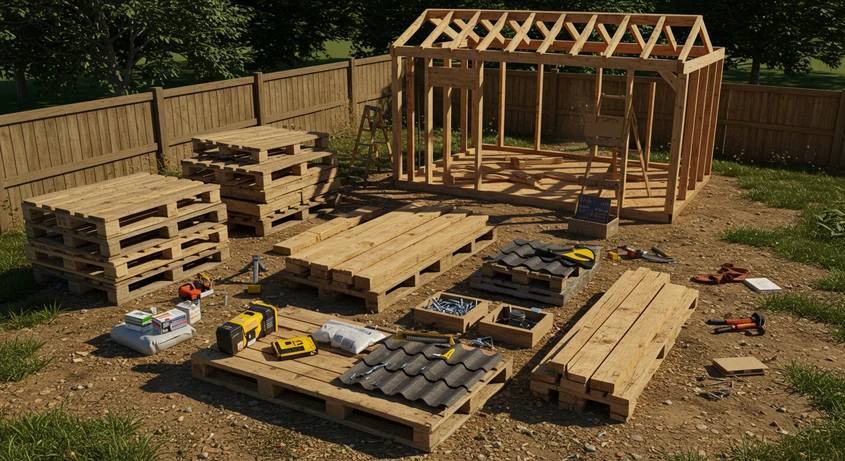
Building a shed doesn’t have to be expensive or complicated. If you’ve got some basic tools and access to free or cheap wooden pallets, you’re already halfway there. A 6ft x 4ft pallet shed is a great solution for storing garden tools, outdoor equipment, or even firewood.
In this guide, you’ll learn how to build a pallet shed step-by-step, using affordable materials and a little elbow grease. Whether you’re new to DIY projects or already have some experience, this walkthrough will help you build a solid and practical 6×4 pallet shed for your backyard.
In this guide, you’ll learn:
- What tools and materials you’ll need
- How to prep your build site
- The right way to assemble the floor, walls, and roof
- Tips for durability and weatherproofing
- How to maintain your DIY pallet shed
Step 1: Gather Materials and Tools
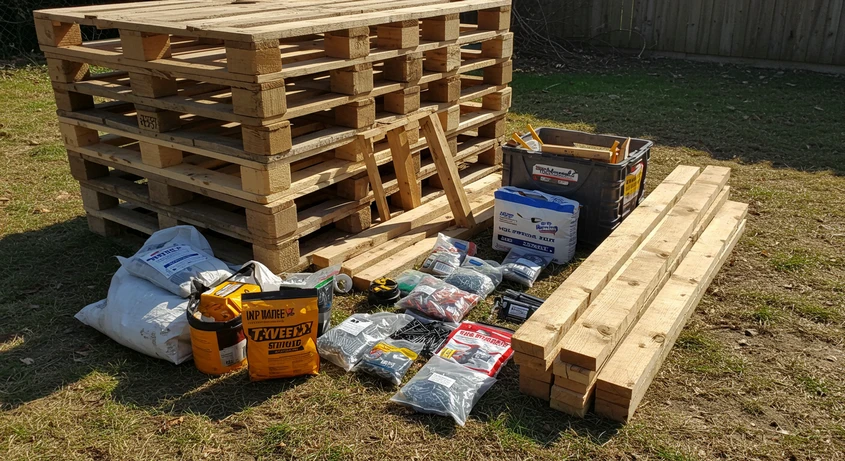
Materials Needed:
- 9 wooden pallets (standard 48″x40″)
- 4 pressure-treated 4×4 posts (10 feet long)
- 6 pressure-treated 2×4 boards (8 feet)
- 3 pressure-treated 1×4 boards (10 feet)
- 2 sheets of galvanized metal roofing (26″x10′)
- Concrete mix for the posts
- Screws, nails, and hinges
- Wood sealant or stain
Tools You’ll Use:
- Measuring tape and level
- Circular saw and hammer
- Cordless drill and bits
- Screwdriver and chisel
- Safety gloves and goggles
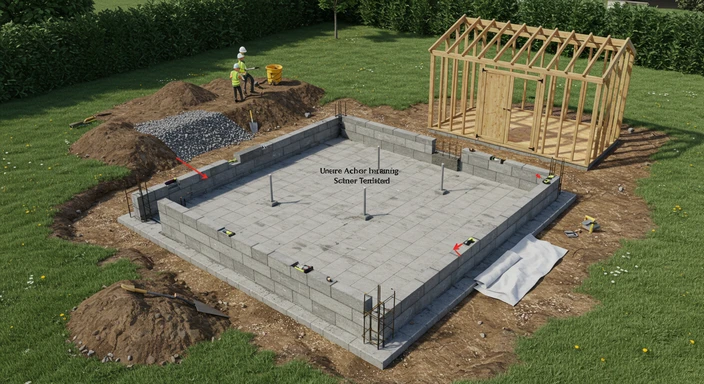
Step 2: Choose the Shed Location and Prepare the Foundation

- Clear the area of grass, rocks, and debris.
- Mark the shed’s footprint using stakes and string (6ft x 4ft).
- Dig four post holes (one in each corner), about 18 inches deep.
- Set the 4×4 posts in concrete and check they’re level and aligned.
Step 3: Build and Install the Floor Frame
- Lay two pallets side-by-side (48″ width) to make up the 6ft length.
- Secure the joining edge using 1×4 boards across the seam underneath.
- Screw the pallets together to create a single, sturdy floor unit.
- Place the floor on top of the 4×4 posts.
- Make sure the floor is level before screwing it into the post anchors.
Step 4: Assemble and Raise the Shed Walls
Wall Breakdown:
- Back Wall: Use two full pallets stacked vertically (or one full and one cut to fit height).
- Side Walls: Attach a smaller pallet section to a full one to reach 6ft in length.
- Front Wall: Use two pallets and leave an opening for the door.
Assembly Tips:
- Attach the pallets together using screws and reinforcing braces.
- Raise the walls and screw them down into the floor frame.
- Ensure corners are square and walls are upright before securing completely.
Step 5: Frame and Install the Roof
- Use 2×4 boards to create rafters that span the width of the shed.
- Space the rafters evenly from front to back, usually every 16–24 inches.
- Secure the rafters to the top of the wall pallets using screws.
- Add horizontal 1×4 purlins across the rafters for added support.
Install the Roofing:
- Place the metal roofing sheets over the rafters.
- Make sure each sheet overlaps slightly to prevent water leakage.
- Secure with roofing screws through the purlins and rafters.
Step 6: Build and Mount the Shed Door
Building the Door:
- Measure the front opening to determine your door size.
- Cut down a pallet or build a frame with leftover 2x4s.
- Add extra planks if needed to fill gaps or strengthen the door.
Mounting:
- Attach two heavy-duty hinges on one side of the door.
- Secure the other side to the front wall frame.
- Add a latch or padlock for security.
Step 7: Weatherproof and Finish the Shed
Seal and Stain:
- Apply a wood stain or exterior-grade sealant to all exposed surfaces.
- Focus on edges, joints, and the roofline for maximum water resistance.
- Reapply sealant every 1–2 years, depending on your climate.
Optional Add-Ons:
- Install guttering to direct rainwater away from the base.
- Add trim boards around the door and roof for a cleaner look.
- Attach a ramp if you plan to wheel tools or equipment inside.
Step 8: Organize the Interior for Storage
Interior Ideas:
- Add shelves using leftover wood or cut pallet slats.
- Install wall hooks or pegboards for hanging tools.
- Use stackable bins or crates for loose items.
Lighting Tip:
- Add battery-powered or solar lights for better visibility.
- Ventilation panels or small windows can improve airflow and reduce moisture buildup.
Step 9: Maintain Your Pallet Shed
What to Check:

- Roofing: Make sure metal sheets remain secure and rust-free.
- Wood Condition: Inspect for rot, mold, or pest damage.
- Sealant: Reapply wood sealant every 1–2 years to keep the structure water-resistant.
- Hardware: Tighten any loose screws, hinges, or door latches.
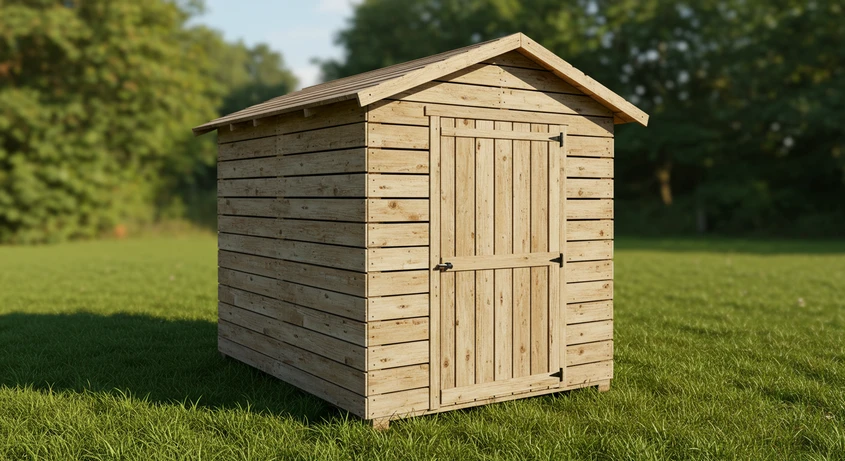
Conclusion: Build a Budget-Friendly Shed That Lasts
Key Takeaways:
- You don’t need expensive materials to build a durable shed.
- Pallets offer an eco-friendly way to repurpose wood.
- Planning your site and sealing your shed protects it long term.
- Regular upkeep helps keep your investment strong.